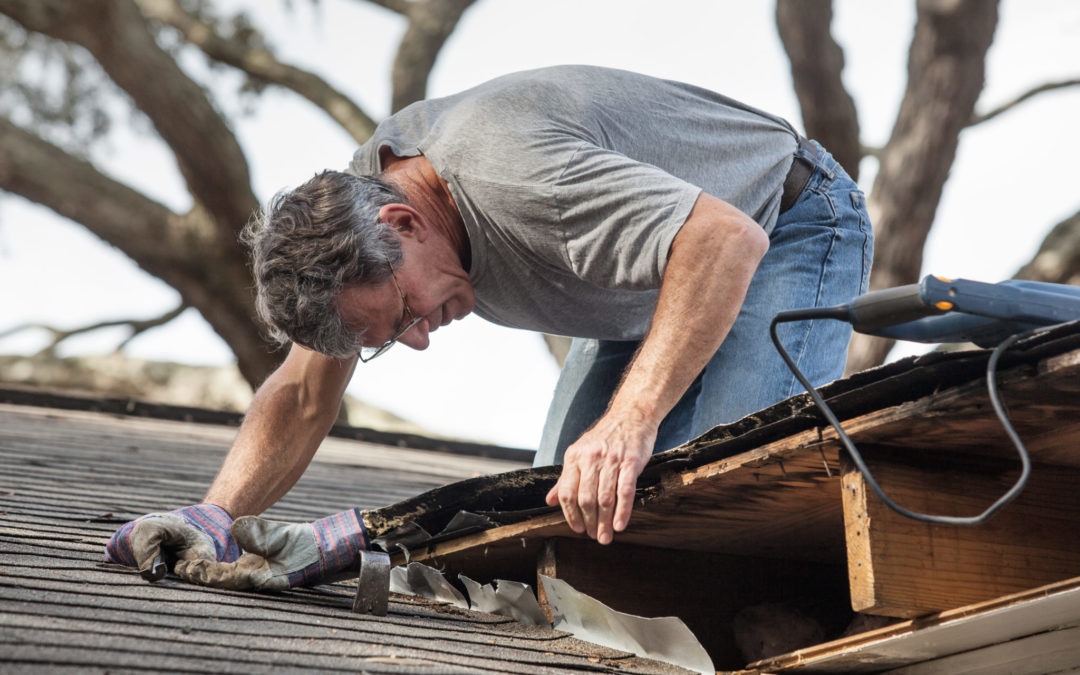
Wood rot is a common problem that can occur in houses, especially in areas where the weather is moist and humid. If left unchecked, wood rot can weaken the structure of your home and cause expensive damage. One way to fix wood rot is by using kickout flashing for gutter repairs. Here in Mid-Missouri, we have a relatively humid climate, so wood rot near gutters is a common roofing problem that can be prevented with flashing. In this article, we will explain what it is and how it can be used to fix wood rot.
What is Kickout Flashing?
Kickout flashing is a type of roof flashing that is used to divert water away from the walls of a building. It is typically installed at the point where the roof meets the wall, and it is meant to “kick out” water that would otherwise run down the wall and cause damage. It is made of metal like aluminum or copper, and it is installed so that it overlaps the shingles on the roof and the siding on the wall.
Kickout Flashing and Gutter Systems
Gutters are an essential part of any roofing system, as they help to collect and direct water away from the walls and foundation of a building. However, if the gutters are not properly installed or maintained, they can become clogged with leaves and other debris, causing water to overflow and run down the walls. This can lead to wood rot, as the constant exposure to moisture can cause the wood to rot and weaken over time.
Kickout flashing can help to prevent this type of damage by diverting water away from the walls and directing it into the gutters. By installing it along the edges of the roof, you can ensure that water is properly channeled away from the walls and into the gutters, where it can be safely carried away from the building.
How to Install Kickout Flashing for Gutter Repairs Yourself
Equipment Needed
Before starting a project yourself, be sure to have all the equipment needed for the repair.
- Caulk gun
- Drill/driver – cordless
- Hammer
- Pry bar
- Tin snips
You will also need the following materials for the project:
- Cap flashing
- Exterior caulk
- Kick-out flashing
Installation Steps
Installing kickout flashing for gutter repairs is a relatively straightforward process that can be done by a homeowner with some basic DIY skills. Here are the steps you will need to follow:
1. Measure the area where you will be installing the kickout flashing. You will need to know the length and width of the area in order to determine how much material you will need.
2. Purchase the necessary materials. You will need kickout flashing, roofing nails, and a hammer. You may also need roofing cement or another type of sealant to secure the flashing in place.
3. Cut the kickout flashing to size. Measure and mark the flashing using a straight edge and a pen or marker. Then, use a pair of tin snips or a metal saw to cut the flashing along the marked lines.
4. Install the flashing. Start by positioning the flashing under the shingles at the edge of the roof. Then, nail the flashing in place using roofing nails and a hammer. Make sure to nail through the flashing and into the roof decking to secure it in place.
5. Seal the flashing. Once the flashing is installed, you will need to seal it to prevent leaks. Use roofing cement or another type of sealant to seal the edges of the flashing and any gaps between the flashing and the roof or siding.
6. Check your work. Once the flashing is installed and sealed, it’s a good idea to check for any gaps or leaks. If you find any, simply apply more sealant as needed to fix the problem.
Get the Help of a Professional
Wood rot is a common problem that can cause serious damage to your home if left unchecked. If you want to use kickout flashing to protect your home, the best course of action is to hire professionals to get the job done right. It can be dangerous for those without training to be working on their roof. The professionals at GP Construction are here to help.